
I Couldn’t Transfer Files Between Two Windows Laptops — So I Wrote This LAN Connection Guide
This may seem very simple, but I missed Step 3 and couldn’t find it anywhere online—so I thought of sharing it in the form of an article.

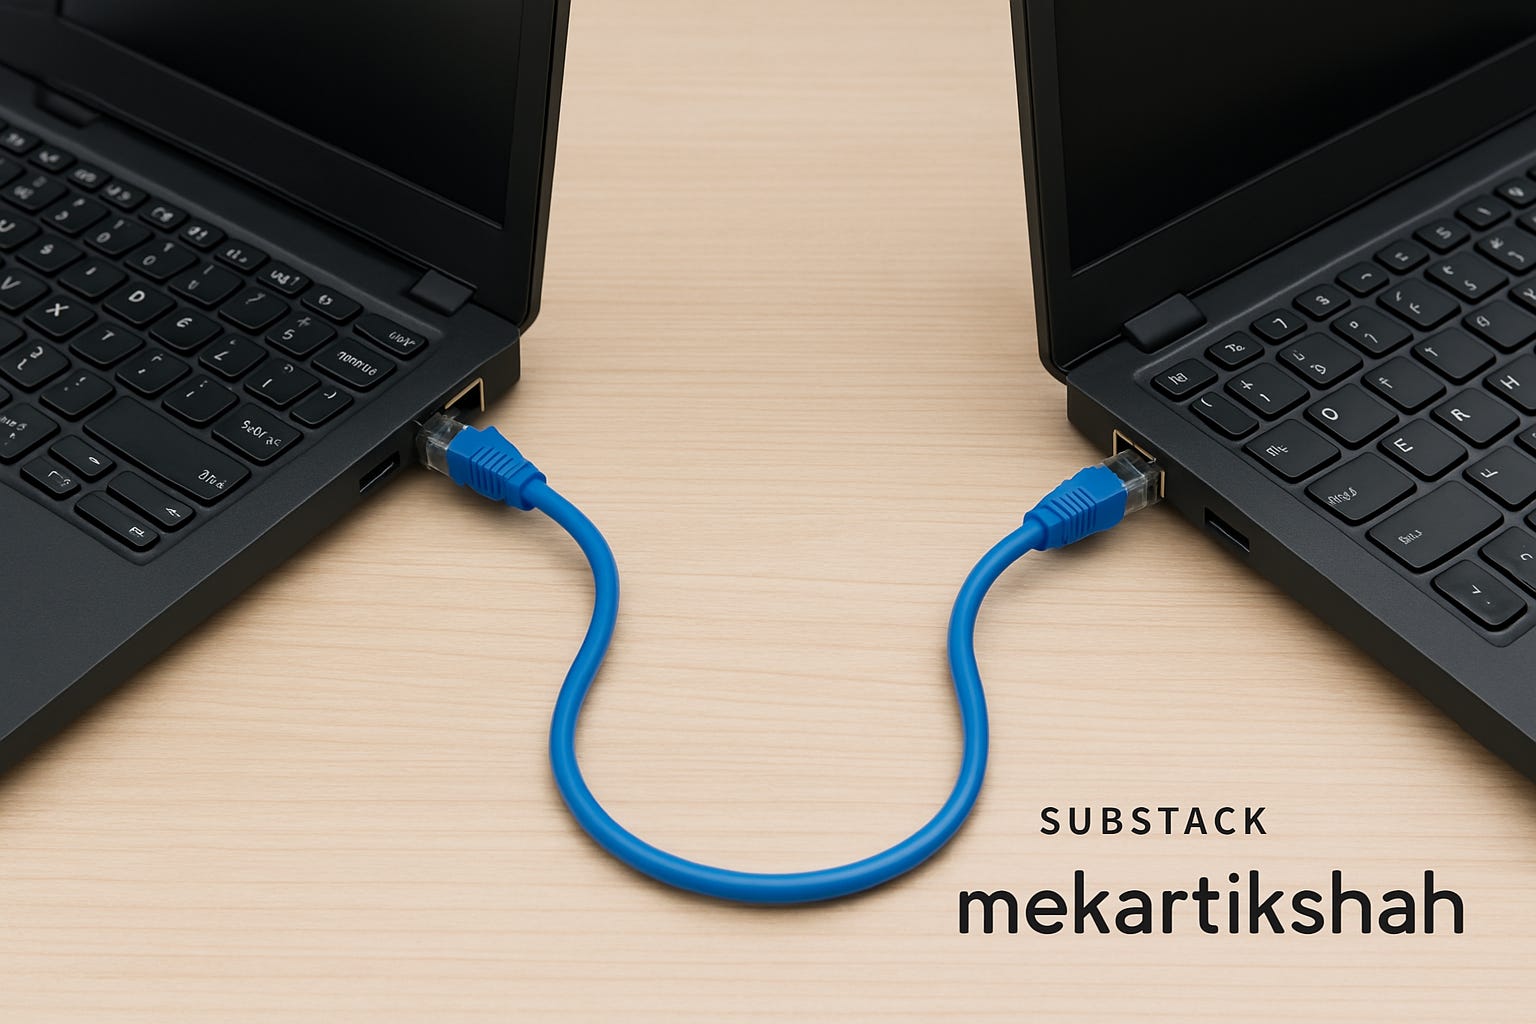
A few weeks ago, I found myself stuck in a situation that should’ve been simple: transferring large project files—totaling over 30GB—from one Windows laptop to another. Wi-Fi was too slow, my USB drive was full, and cloud storage wasn’t viable with the flaky internet I had that day. That’s when I reached for the trusty old LAN (Ethernet) cable—a method I hadn’t used in years.
Turns out, Windows doesn’t make this as plug-and-play as you’d hope.
After battling with IP settings, permissions, and a few hidden system quirks, I finally got both laptops talking over the LAN cable at blazing speeds. Since I couldn’t find a clean, up-to-date tutorial for Windows 10/11, I decided to write this walkthrough—for anyone facing the same roadblock I did.
🧰 What You’ll Need
• Two Windows laptops (ideally running Windows 10 or 11)
• A LAN (Ethernet) cable — CAT5e or CAT6 recommended
• Ethernet ports or USB-to-Ethernet adapters if your laptops don’t have LAN ports
• Admin access on both machines
🛠 Step-by-Step Setup: What Worked for Me
Step 1: Connect the LAN Cable
Pretty straightforward: plug one end of the cable into each laptop. If either lacks an Ethernet port (as many modern laptops do), a USB-to-Ethernet adapter will do the trick.
Step 2: Assign Static IPs
By default, Windows doesn’t auto-assign IPs in this kind of direct connection. I had to manually configure them.
On Both Laptops:
1. Head to:
Control Panel > Network and Sharing Center > Change adapter settings
2. Right-click on your Ethernet adapter > Select Properties
3. Click Internet Protocol Version 4 (TCP/IPv4) > Click Properties
4. Select Use the following IP address and set them like this:
Laptop 1:
• IP: 192.168.1.1
• Subnet: 255.255.255.0
Laptop 2:
• IP: 192.168.1.2
• Subnet: 255.255.255.0
5. Leave Default Gateway blank, and hit OK
Step 3: Change Network Type to Private
Here’s where I hit a wall—my network stayed stuck as Public, and I couldn’t share anything. To fix that, I had to convert the network to Private. Windows doesn’t always show the toggle in settings, so here are both methods:
Method A: Using Settings
1. Go to Settings > Network & Internet > Ethernet
2. Click your connected network (it may say “Unidentified network”)
3. Select Private under Network profile
Method B: Using PowerShell (When GUI Fails)
This saved me when the Settings panel refused to cooperate.
1. Open PowerShell as Administrator
2. List active network profiles:
Get-NetConnectionProfile3. Find your InterfaceAlias (usually “Ethernet” or similar)
4. Run this to switch to Private:
Set-NetConnectionProfile -InterfaceAlias "Ethernet" -NetworkCategory PrivateReplace "Ethernet" with your actual alias if it’s different.
Step 4: Enable File and Printer Sharing
Once the network was private, sharing started working—but only after I enabled a few options:
1. Go to Control Panel > Network and Sharing Center
2. Click Change advanced sharing settings
3. Under Private, make sure:
• Turn on network discovery is checked
• Turn on file and printer sharing is checked
4. Scroll down and turn OFF password protected sharing if you want quick access
Step 5: Share the Folder You Need
Here’s how I shared my project folder:
1. Right-click the folder > Properties
2. Go to the Sharing tab > Click Advanced Sharing
3. Check Share this folder
4. Optionally, click Permissions to set read/write access
Do the same on the other laptop if you need two-way file access.
Step 6: Access the Shared Folder
On the second laptop:
1. Open File Explorer
2. In the address bar, type:
\\192.168.1.1(Replace with the actual IP of the first laptop)
3. Boom — your shared folder should appear, ready for action.
Bonus: Test With Ping
Just to be sure things were working, I opened Command Prompt and pinged the other laptop:
ping 192.168.1.2If you see replies with millisecond latency, you’re golden.
🧼 Troubleshooting Notes from My Pain
• Firewall: If things still don’t connect, try turning off the firewall temporarily for private networks
• Still Public? Double-check your interface name in PowerShell
• Folder not visible? Make sure it’s shared properly and you’re on the same subnet
I didn’t expect such a basic task to spiral into hours of trial and error—but once I nailed this setup, it worked flawlessly. Hopefully, this guide helps you skip the headaches I went through.